Cottage Cheese Brownies with Cocoa Nibs
Highlighted under: Classic Ideas
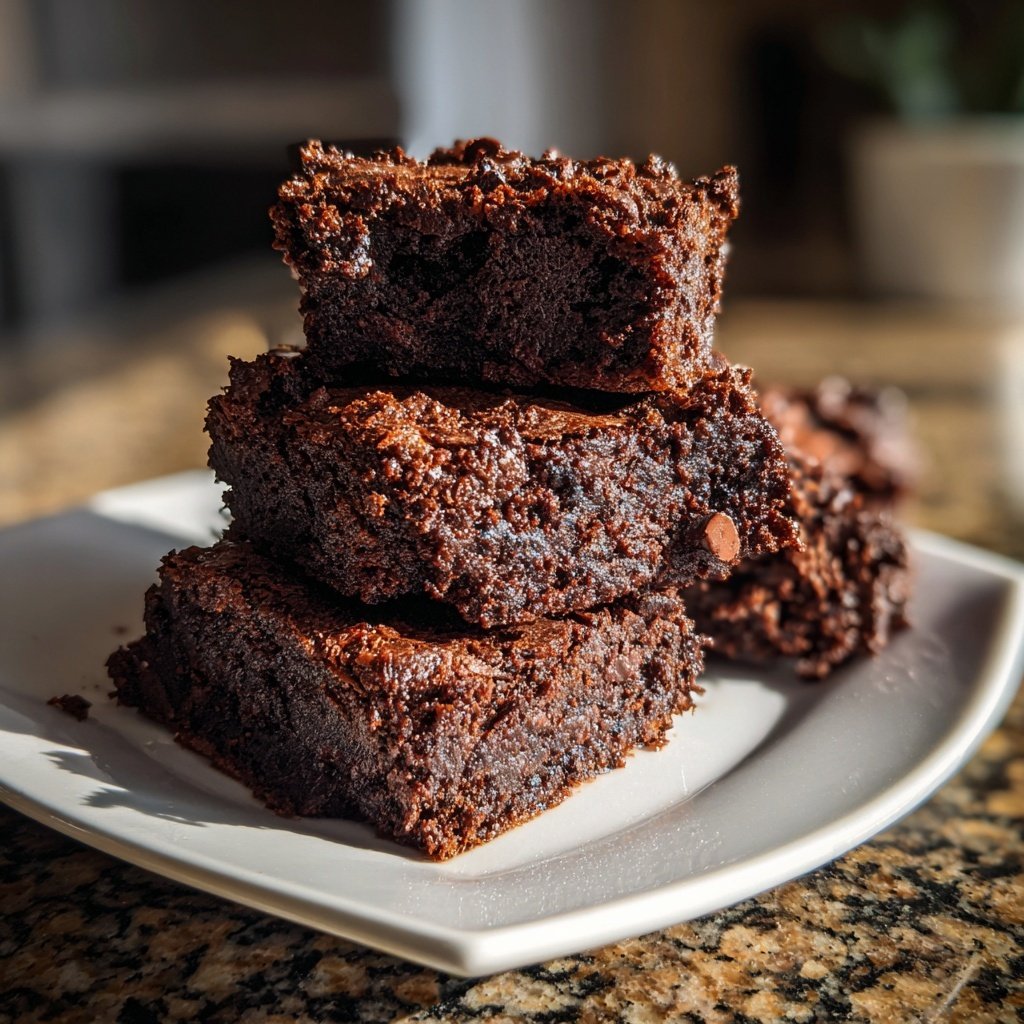
I love baking brownies, and these Cottage Cheese Brownies with Cocoa Nibs have quickly become one of my favorite indulgences. Combining the creaminess of cottage cheese with rich cocoa and a delightful crunch from cocoa nibs creates a deliciously unique treat. Not only are these brownies super easy to whip up, but they also offer a slightly healthier twist, making them a guilt-free delight. Whether for a special occasion or just to satisfy a sweet tooth, these brownies are sure to impress everyone at the table.
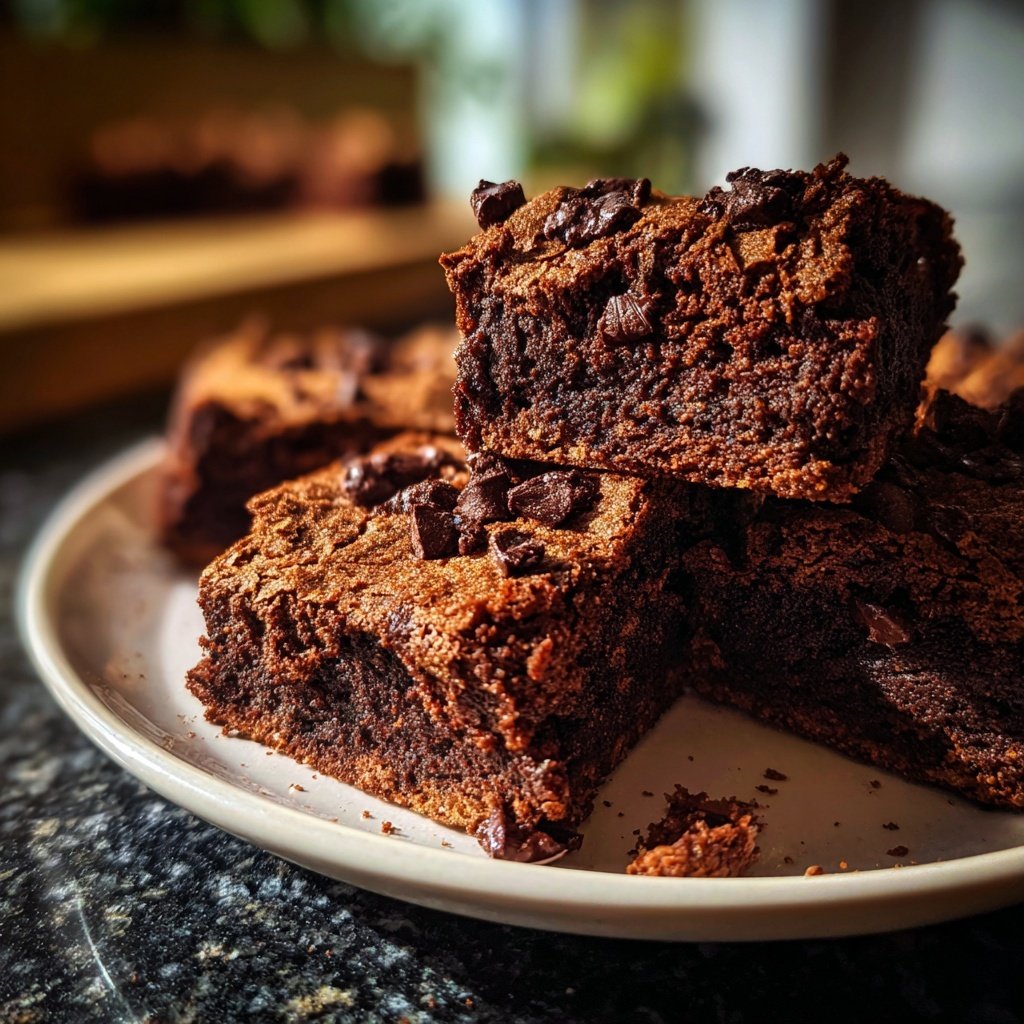
When I first tried making brownies with cottage cheese, I was pleasantly surprised by how moist and rich they turned out. The cottage cheese adds a wonderful creaminess that enhances the chocolate flavor without overwhelming it. I particularly love folding in cocoa nibs; they provide an unexpected crunch that contrasts beautifully with the soft brownie texture.
During my baking experiments, I discovered that using cottage cheese in brownie batter creates a perfect balance of sweetness and richness, which results in a decadent treat. I recommend letting the brownies cool completely before cutting them into squares. This helps them set and makes it easier to achieve those perfect, clean edges!
Why You'll Love This Recipe
- Rich chocolate flavor paired with crunchy cocoa nibs
- Moist texture thanks to the cottage cheese
- A healthier twist on classic brownies
- Easy to make and perfect for sharing
The Importance of Cottage Cheese
Cottage cheese may seem like an unusual ingredient in brownies, but it plays a crucial role in achieving a moist, tender texture. The high protein content helps create a rich and satisfying mouthfeel while significantly reducing the need for additional fats. When blended until smooth, it disappears into the batter, contributing to the overall richness without imparting a strong flavor. This makes it perfect for those moments when you want something indulgent yet still on the lighter side.
Be sure to use full-fat cottage cheese for the best results; the creaminess will enhance the chocolate flavor of the brownies. If you're looking for a dairy-free option, silken tofu can be blended as a substitute, although it may change the texture slightly. Just ensure that you adjust your baking time based on how your batter looks; it should flow smoothly but remain thick enough to hold its shape in the pan.
Mastering the Baking Process
When baking these brownies, achieving that perfect rise is key. Make sure your baking powder is fresh; expired baking powder can lead to dense brownies that don’t rise well. I recommend pouring the batter into the pan immediately after mixing, as resting the batter can form a thicker crust that may not bake evenly. You want to see the edges firm up slightly while the center remains just set for that gooey texture.
To check for doneness, use the toothpick test—insert it into the center and pull it out. You should see a few moist crumbs sticking to it, indicating that the brownies are done. Overbaking can lead to a cakey texture, which isn’t what we want here. If they look glossy and slightly puffed, they're probably on the right track.
Ingredients
For the Brownies
- 1 cup cottage cheese, blended until smooth
- 1/2 cup unsweetened cocoa powder
- 1/2 cup sugar
- 2 large eggs
- 1 teaspoon vanilla extract
- 1/2 cup all-purpose flour
- 1/4 teaspoon baking powder
- 1/4 teaspoon salt
- 1/2 cup cocoa nibs
Instructions
Directions
Preheat the Oven
Preheat your oven to 350°F (175°C) and grease a 9x9-inch baking pan.
Mix the Wet Ingredients
In a medium bowl, combine the blended cottage cheese, sugar, eggs, and vanilla extract. Mix until smooth.
Combine Dry Ingredients
In another bowl, whisk together the cocoa powder, flour, baking powder, and salt.
Incorporate the Mixture
Gradually add the dry ingredients to the wet ingredients, mixing until fully incorporated. Fold in the cocoa nibs.
Bake
Pour the batter into the prepared baking pan and bake for 25 minutes, or until a toothpick inserted comes out with a few moist crumbs.
Cool and Enjoy
Allow the brownies to cool completely in the pan before cutting into squares. Serve and enjoy!
Enjoy your brownies!
Pro Tips
- For an extra touch, you can sprinkle some sea salt on top before baking or drizzle with melted dark chocolate after they've cooled.
Storage and Serving Suggestions
Once cooled, these brownies can be stored tightly covered at room temperature for up to three days. For longer storage, cut them into squares and freeze them in an airtight container with parchment paper in between to prevent sticking. They can last up to three months in the freezer, making them an excellent make-ahead option. Simply thaw at room temperature or warm them briefly in the microwave before serving for that freshly baked feel.
For a delightful serving suggestion, try topping the brownies with a dollop of whipped cream or a scoop of vanilla ice cream. The creamy textures will beautifully complement the rich brownie, while fresh berries can add a refreshing touch. Drizzling with a little chocolate sauce or sprinkling some extra cocoa nibs on top can elevate your dessert presentation.
Variations and Customizations
Feel free to customize these brownies to suit your taste! If you're a fan of nuts, chopped walnuts or pecans can add a lovely crunch and deepen the flavor. Just toss in half a cup during the mixing phase. For a hint of spice, a teaspoon of instant coffee or espresso powder can enhance the chocolate flavor significantly without being overpowering.
You can also play with the sweetness by using brown sugar instead of granulated sugar; it will give the brownies a richer flavor profile. Additionally, experimenting with different types of cocoa powder, like Dutch-processed versus natural, can yield varied chocolate intensities. Just keep in mind that adjustments might affect your final texture and taste, so be prepared to tweak your baking times slightly.
Questions About Recipes
→ Can I use low-fat cottage cheese?
Yes, low-fat cottage cheese works well, but it may result in slightly less richness.
→ How do I store the brownies?
Store the brownies in an airtight container at room temperature for up to 3 days, or in the refrigerator for up to a week.
→ Can I substitute the cocoa nibs?
Absolutely! You can use chocolate chips or chopped nuts if you prefer.
→ Are these brownies gluten-free?
They can be made gluten-free by substituting the all-purpose flour with a gluten-free blend.
Cottage Cheese Brownies with Cocoa Nibs
What You'll Need
For the Brownies
- 1 cup cottage cheese, blended until smooth
- 1/2 cup unsweetened cocoa powder
- 1/2 cup sugar
- 2 large eggs
- 1 teaspoon vanilla extract
- 1/2 cup all-purpose flour
- 1/4 teaspoon baking powder
- 1/4 teaspoon salt
- 1/2 cup cocoa nibs
How-To Steps
Preheat your oven to 350°F (175°C) and grease a 9x9-inch baking pan.
In a medium bowl, combine the blended cottage cheese, sugar, eggs, and vanilla extract. Mix until smooth.
In another bowl, whisk together the cocoa powder, flour, baking powder, and salt.
Gradually add the dry ingredients to the wet ingredients, mixing until fully incorporated. Fold in the cocoa nibs.
Pour the batter into the prepared baking pan and bake for 25 minutes, or until a toothpick inserted comes out with a few moist crumbs.
Allow the brownies to cool completely in the pan before cutting into squares. Serve and enjoy!
Extra Tips
- For an extra touch, you can sprinkle some sea salt on top before baking or drizzle with melted dark chocolate after they've cooled.
Nutritional Breakdown (Per Serving)
- Calories: 180 kcal
- Total Fat: 6g
- Saturated Fat: 3g
- Cholesterol: 55mg
- Sodium: 80mg
- Total Carbohydrates: 26g
- Dietary Fiber: 2g
- Sugars: 15g
- Protein: 5g